Easter is the best time for hiding, searching and crafting.
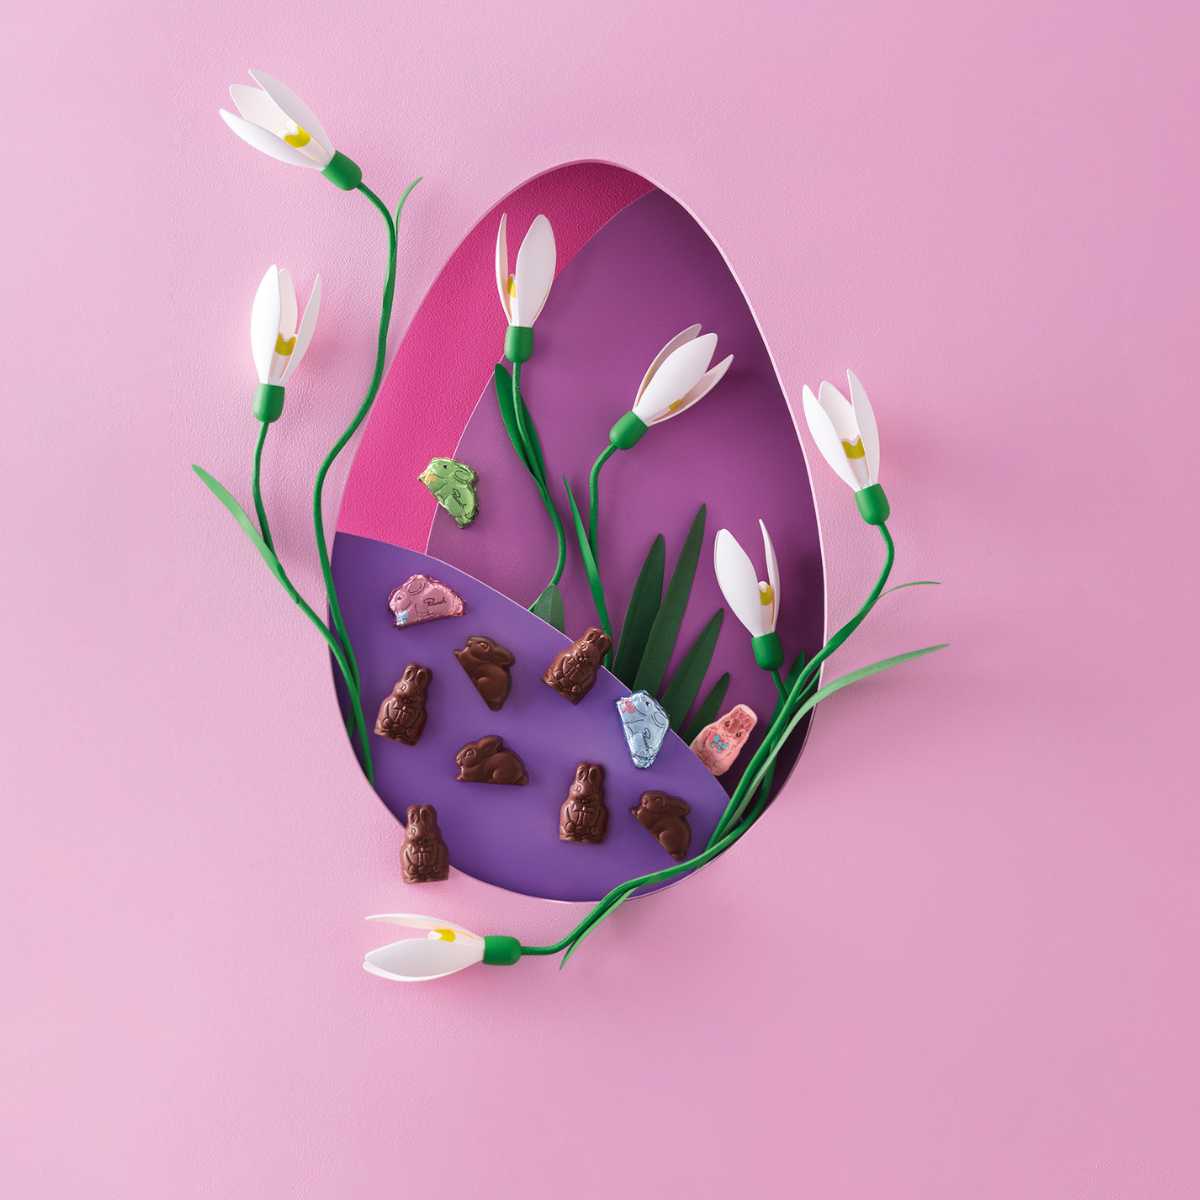
What could be sweeter than a lovingly filled Easter basket with fine Easter chocolate? We have prepared simple and creative crafting instructions for the perfect Easter basket for anyone who enjoys making their own.
Whether for children, friends or as a small gift - this DIY Easter basket not only makes eyes light up, but is also great fun to make.
Have fun making it and Happy Easter!
Equipment and materials required: Printer, A4/A3 sheet, colored pencils, scissors, stapler and glue stick
Instructions:
1. download the craft sheet, print it out in A4 or A3 and color in the figures as desired.
2. fold and cut out the lines:
- Cut out the figures on the right, the long strip (for a handle) and the large square.
- Fold the paper along the dotted lines on the left and right.
- Cut in the continuous lines at the top and bottom.
3rd - 4th Easter basket folding and fixing:
- Bend the paper along the folded lines and form a basket.
- Place the handle on the inside at the paper intersection and fix it with a stapler or glue.
- Repeat both on the opposite side.

5 - 8 Decorate and fill the Easter basket:
- Attach the colorful figures (bunnies, eggs, bow) to the sides with a glue stick and decorate.
- The basket can be used empty for the Easter egg hunt or easily filled with Easter grass, Easter eggs and chocolate bunnies.
Have fun!
